Measure the wall
Confirm the available width and height, allowing clear space around the full assembled frame. Product dimensions will be published after verification.
Installation & sizing
A good installation begins before the box is opened. Plan the relationship between wall, screen, console, projector and seating as one system.
Final assembled and packaging dimensions are pending production verification.
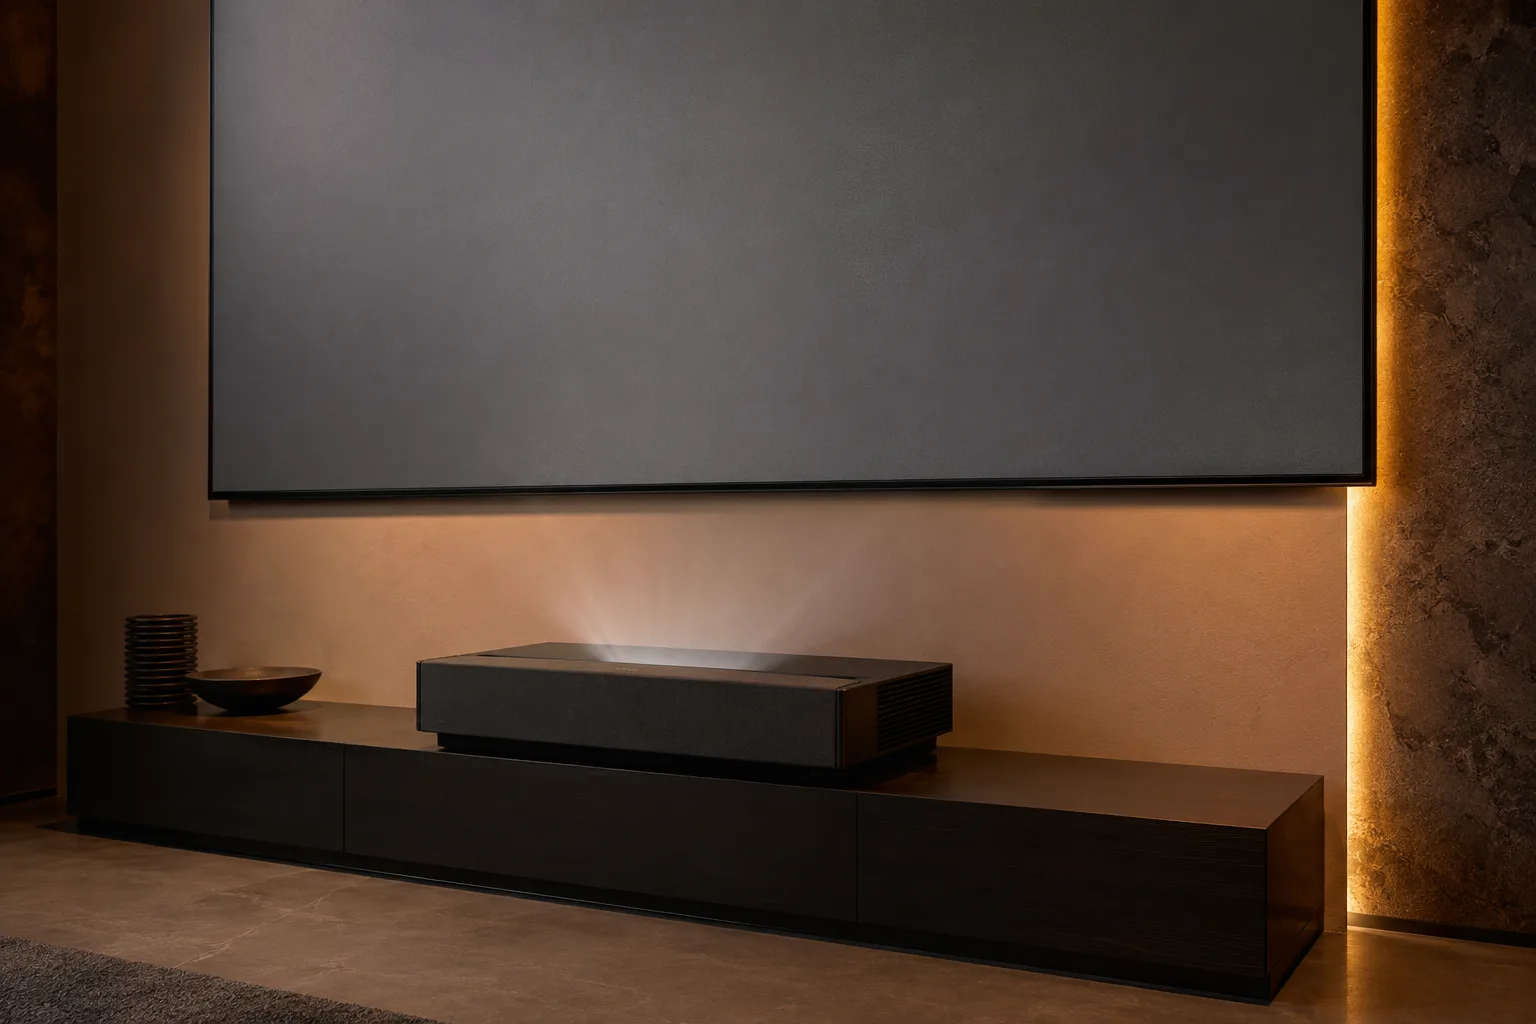
Projector placement varies by model. Always use verified manufacturer geometry for your exact projector and image size.
The process
Confirm the available width and height, allowing clear space around the full assembled frame. Product dimensions will be published after verification.
Include console height and depth, skirting, power points and any joinery beneath the screen.
Use the projector manufacturer’s throw-distance guidance for your chosen image size. Different UST models require different offsets.
Aim for a comfortable seated sightline. Avoid placing a very large image unnecessarily high to clear furniture.
Use a clean, flat area larger than the finished frame. Keep tools, dust and sharp objects away from the optical surface.
Identify the marked top edge before tensioning and before wall mounting. Fresnel surfaces are directional.
Level the frame, position the projector physically, then use only minimal digital geometry correction where necessary.
Handle with care
Before you drill
LUMAYNE will publish exact overall screen width, height, depth, mounting-point geometry, package size and weight after final production verification. Do not plan cabinetry or drilling from diagonal size alone.
Ask an installation question